Many combinations of long tail keywords are never searched for and should therefore not exist in your advertising account. A search term mapping table can reduce the amount of generated content in a meaningful way. These mapping tables are based on search term reports from the search engine. The reports contain information on search terms that actually triggered an advertiser’s keywords in the past. Of course, reducing generated content can be done in other ways. However, it makes most sense to base this reduction on actively searched terms. This way you will keep the combinations that received traffic, and eliminate those never used by online users.
The general approach in the Crealytics’ Search Platform is to create the mapping table, and then assign it to the templates you wish to limit content for.
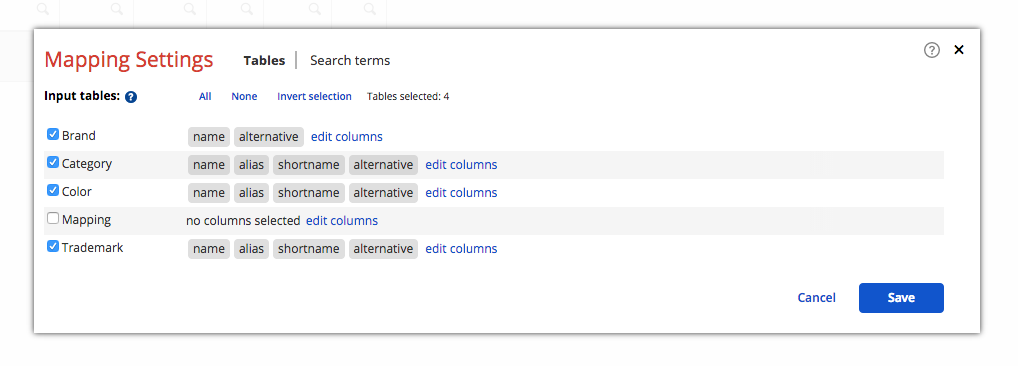
Step 1: Select tables
In the “Campaign management” tab, click “Add new table” and choose the table type “Search Term Mapping”. You have the option to modify the default name for the mapping table. Crealytics’ Search Platform pre-selects a number of tables used to generate keywords. Please review the selected tables and their respective columns. Make sure that everything selected should be included in keyword creation. Click “select columns” to edit the column selection of your chosen table.


Note: The list does not contain tables of the type ‘mapping’ or ‘product feed’. The reason is that those two table types are merely for mapping purposes, not for the creation of keywords. However, manual mapping tables (as in the example above) cannot be filtered out. Thus, do not include a manual mapping table in the search term mapping table.
The tables selected here will be compared to queries recorded in search term reports. In case of a match, the name value of the respective table will be written into the mapping table. There, you will find one column for each of the tables you selected. You may then click “Next”.
Summary: Select all tables and table columns you believe have content that appears in search term reports.
Step 2: Select Google accounts and other settings
The second step is to select a Google Account or a list of MCC sub-accounts. In the latter case, the list will contain only those sub-accounts not excluded in the blacklist under “General Settings“. Select the accounts with search terms you want to use.
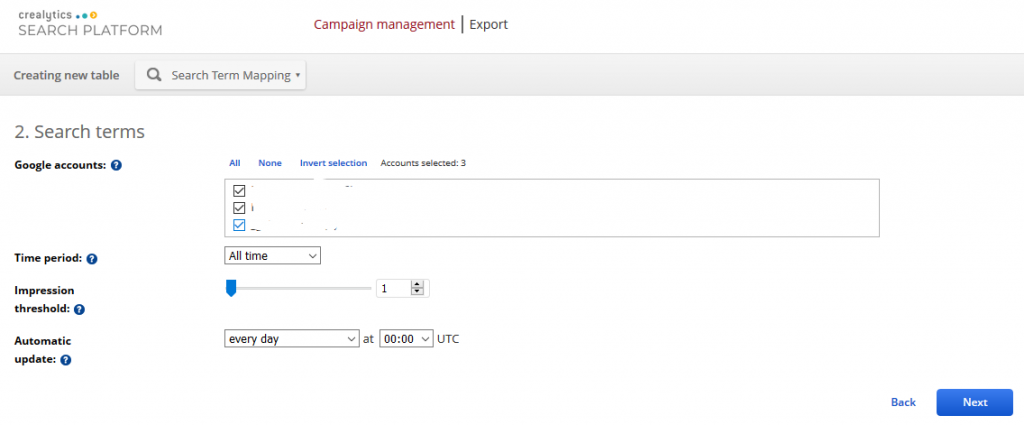
It is recommended to select as many accounts as you have available. Keyword combinations without search histories will be eliminated. If a search term appeared in an unselected account, but not in the selected ones, the mapping process will remove it, even if people search for it. This setting can be changed later in “Mapping Settings” (see below).
Hint: The more search terms, the better. Select all Google Accounts.
Time period
The setting “time period” asks for the time frame from which to take search terms into account. The longest setting is “all time”. This will download search terms for the whole time period in which the selected Google account(s) existed. Select “all time” unless you have a certain reason to exclude old search terms. This setting may be changed later in “Mapping Settings” (see below).
Hint: The more search terms, the better. Select the longest time range.
Impression threshold
Crealytics’ Search Platform will only import search terms that have at least as many impressions as the threshold. For example, if you set the threshold to “1”, search terms with one or more impressions will be imported. This setting can be changed later in “Mapping Settings” (see below).
Hint: The more search terms, the better. Set the impression threshold to 1. If you find out later that this leads to too many keywords, open “Mapping Settings” and increase it (see below).
Automatic update
During automatic updates, Crealytics’ Search Platform downloads the search terms from the selected Google accounts. Afterwards, the mapping table will be replaced by an updated version. The “Mapping Settings” (see below) displays a success or an error message about the progress of the update process.
If you do not select the time period “all time”, but e.g. “last 6 months” instead, and the automatic update happens after a month, it could happen that various content in the mapping table will be removed. This will happen with keywords that were only triggered by search terms in the first of the 6 months. After a month, the first automatic update happens. Now, 5 of the previous months plus the new month will be considered. All keywords belonging to search terms only appearing during the first of the previous 6 months will disappear from the mapping table,.
Summary: If you didn’t select the time period “all time” above, it is normal that old content is removed and new content added during automatic updates.
Hint: We recommend setting the automatic update to “every day” if you have a lot of traffic or make frequent changes in the platform. Otherwise “first day of the month” is sufficient. You can also specify the time of day. Make sure that you are aligning it with other automatic imports.
Step 3: Apply to templates
The third step applies the mapping table to templates. If a template is selected here, the mapping table will be added to it as a “referenced” table. Referenced tables can be seen under “Apply Relations” in the template. If a referenced table is added to a template, the template will generate only the combinations present in the referenced table. This is the exact purpose of a mapping table: only the content referenced in the mapping table will be generated.
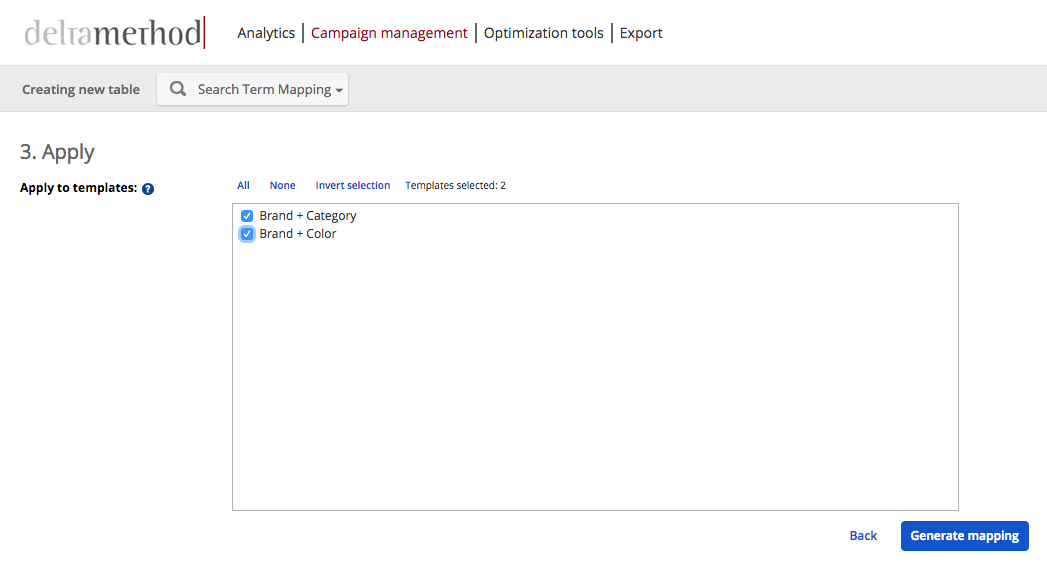
Summary: Templates selected in the list, will have the mapping table selected under “Apply Relations” > “Create items only if referenced in [MAPPING TABLE]”.
A popup window will open, which has two tabs, “Tables” and “Search Terms”. For more information about the “Tables” tab, please read ‘step 1’ of the guide above. For more information about the “Search terms” tab, please read ‘step 2’ of the guide above.
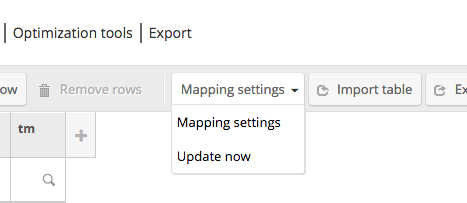
Automatic Update
The mapping settings also allows changes to the frequency of the automatic update. However, it is also possible to start an update immediately by clicking “Update Mapping”. You can find this button by clicking the small triangle next to the mapping settings button.