Begin with the first template. Navigate to the Keywords tab and remove the third-party tracking components from the new final URL field. Store the tracking component for later. Perform this update in every template.
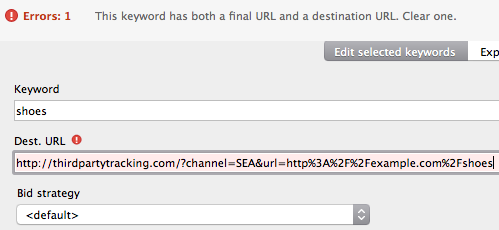
Example: Removing third-party tracking
Before upgrading, the old destination URL resides inside the final URL field.

After upgrading, the final URL field should look like this. The URL had to be URL-decoded:

The third-party tracking URL should go into the tracking template (see step 2). In this example, it is: http://thirdpartytracking.com/?channel=SEA&url=
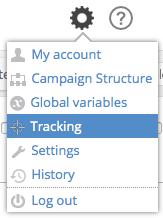 First, click the gear symbol to access “Tracking settings”. There, create a global tracking template. Only if your tracking components differ between different templates, is it necessary to create multiple template-specific tracking templates.
It is required to use the parameter {lpurl}, which defines where Google will put the respective final URL or final mobile URL for the keyword. You can insert up to 3 custom parameters. Their value can be specified later in the Keywords tab of all templates. Please note, only 3 custom parameters are allowed, and they must start with an underscore, e.g. {_cust1}.
Hint: Please be aware that adding custom parameters may cause your keywords to be pending.
Create a tracking template with the remainder from step 1
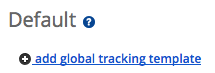
Click the button “add global tracking template” (or alternatively create template-specific tracking templates) and fill in the tracking components that were removed from the final URL fields in step 1.
Put the parameter “{lpurl}” into the position where the final URL was before. In this example, it belongs to the end of the statement.

Learn more about tracking settings.
Step 3: Export and edit in the Google Ads Editor
After upgrading URLs in Crealytics’ Search Platform, export all templates. The export file(s) will contain the new final URLs, tracking templates and – if you create them – also custom parameters.
Import Crealytics output files into the Google Ads Editor and accept the changes. You will find the new final URLs in the respective fields. However, the Editor will complain about duplicate URLs, because the old destination URLs are still present. Hence, select all keywords, mark the destination URL field, and empty it. This way, you bulk-remove all old destination URLs.
Post the changes to Google Ads.