

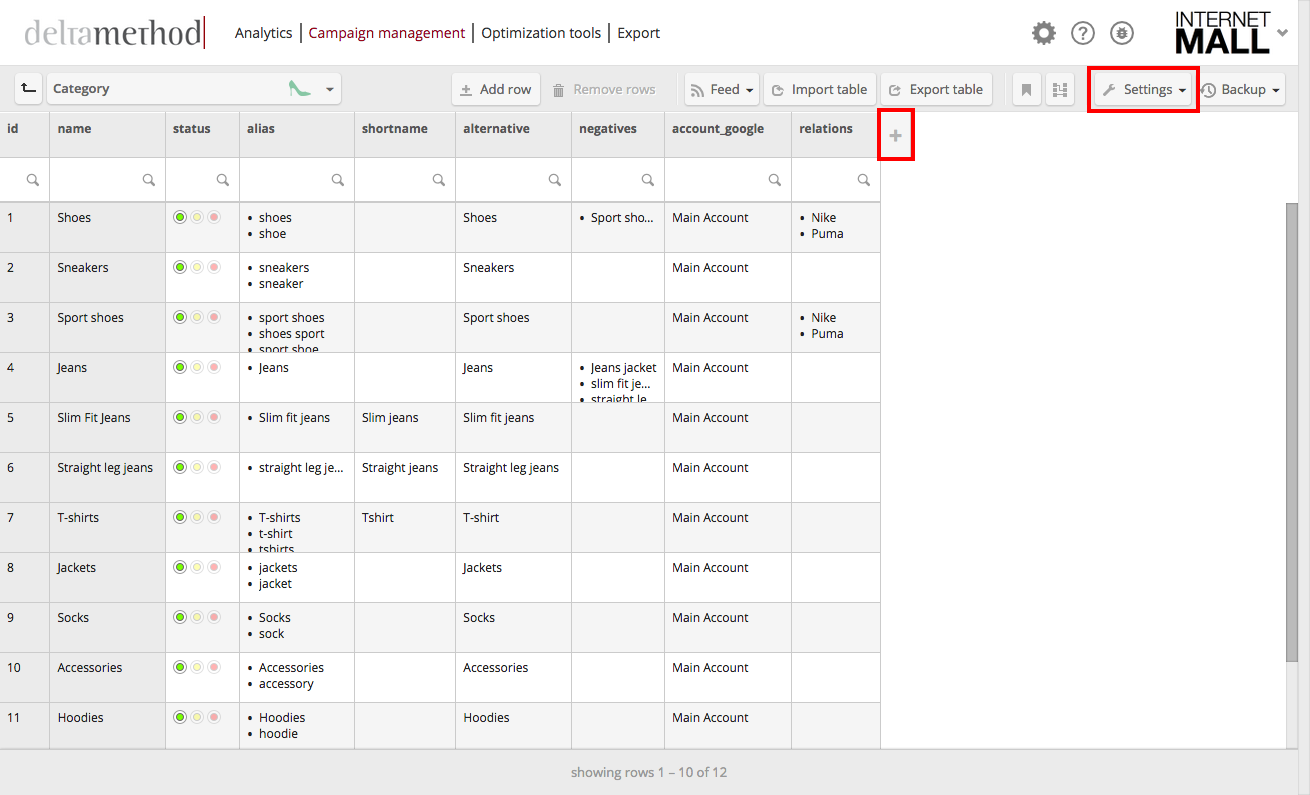
After setting up a new table, empty rows are awaiting first entries. At this point, it is essential to understand the meaning of every column and column set. The most important columns are described briefly in this article. These column names have developed to be our best-practice from years of experience in the creation of text ads. However, apart from “name” and “status” the usage of these columns is optional.
Table Actions
- Click the “+” button to the right of the column name row
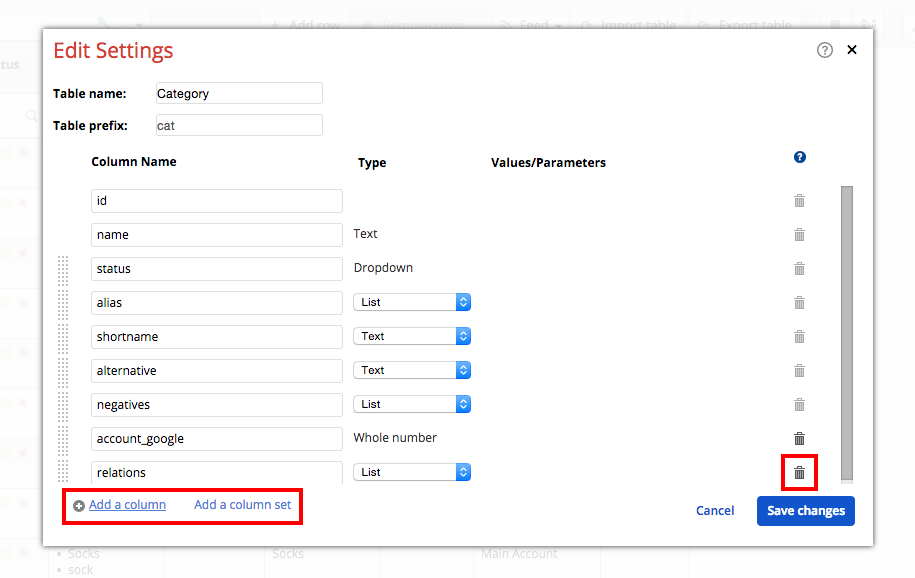
- Click “Settings” and choose “Columns/Settings”
Both options will open the “Edit Settings” dialog box, however the first option will automatically create a custom column. At the bottom of the dialog box is the option to add a column.
To remove a column, use the ‘delete’ button next to each existing column name.

It is also possible to import a text file into the table. This is helpful if you have existing data you wish to integrate in a Crealytics’ Search Platform table.
Importing Tables
Click “Import Table”, upload a file, and follow the instructions. The file you are uploading must be either .CSV or .TXT. Both can be created easily from an existing Excel file. Simply use the option “Save as” and select “CSV” or “Text” as file type. This feature works in the same way as the feed import.
Importing Feeds
Click “Import Feed” to import a feed. The article about Feeds explains it in far more detail. Learn more

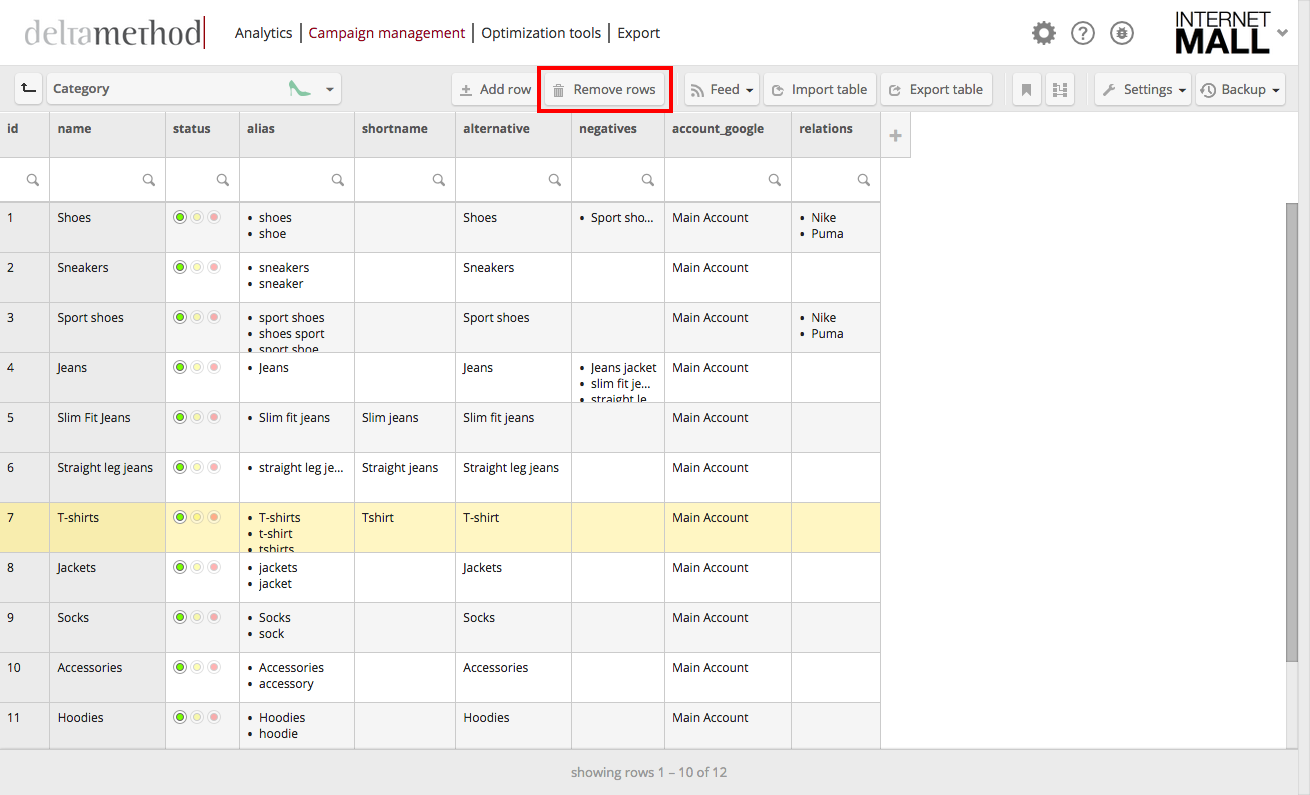
Please note: The binding between name and id values will remain. If you need to remove this binding, please reach out to your digital marketing contact at Crealytics for further assistance.
Imagine entering “nike” as a brand into the name column. If this is the first entry, it gets the ID 1. Now, if you add more rows, remove the first row and add a new row entering “nike” again, the new entry “nike” will have the ID 1 again. Crealytics’ Search Platform remembers the combination of names and IDs. This information is also present in reactivated tables.
If more than one column has set to be sorted, the order in which the sorting has been activated will determine which sorting will be prioritized.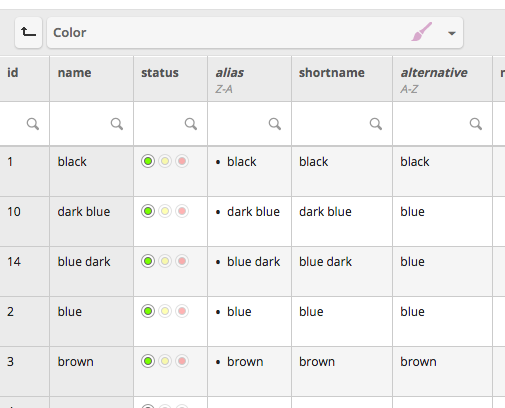
Example: In this example, the ‘alternative’ column is sorted alphabetically and the ‘alias’ column is sorted reverse alphabetically. Thus, the sorting of the ‘alias’ column only changes the order for entries having identical entries in the ‘alternative’ column.
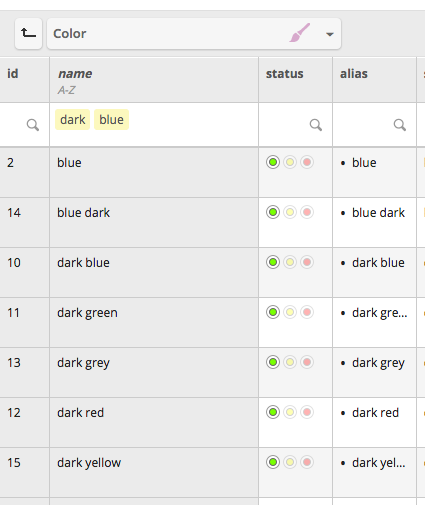
Example: It is possible to filter for two or more words and numbers at once within the same column. If a column entry matches either of the set filters, it will be displayed.
Special Filters can be used to filter the table for ’empty’ entries in a column. Numerical columns (of type decimal/whole number) have the special filters “Greater than”, “Less than”, and “Between # and #”. Meanwhile, non-numerical columns can be filtered for entries that have more than a certain number of characters (“Greater than # chars”). You may select these filters from the drop-down that unfolds when clicking a column’s search bar.
- Structure changed (e.g. column added/removed, relations added/removed)
- Dynamic rule (a dynamic rule has been applied)
- Restore operation (only if there have been changes since the last backup)
- Table import
- Feed import
- Empty table
- Table deleted (will only be available if the table is being reactivated)
Additionally, there will be an automatic backup of changes like adding a new row, changing entries etc. every 3 days (if changes were applied). Finally, you have the possibility to do a manual backup, which is outlined below.
Step 1: Create a backup or access previous backups
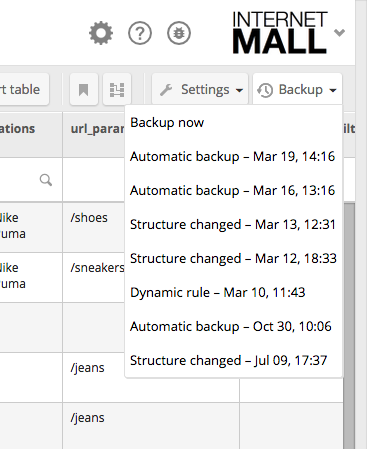
To do a manual backup of the table or access previous backups, click “Backup” in the far right of the tool bar. Click “Backup now” to make a manual backup, which will appear in the list of backups shortly after.

Step 2: Select a backup to restore
Crealytics’ Search Platform will make a backup of the table before each of the changes mentioned above. To restore your account to a state before such changes took place, simply select the backup from the list.
Step 3: Choose to restore with or without relations
The only thing left to do, is to choose whether to restore the backup with or without the relations set previously. The information in the pop-up helps you decide if the relations are still required or not. Finalize the backup by choosing either option.

Optional step: Undo the restoring
Crealytics’ Search Platform also creates a backup before restoring one. If a backup has been restored by mistake or the restoration does not lead to the expected result, the state before the restore operation can be used by selecting “Restore operation” from the drop-down.