

Step 1: Access table creation
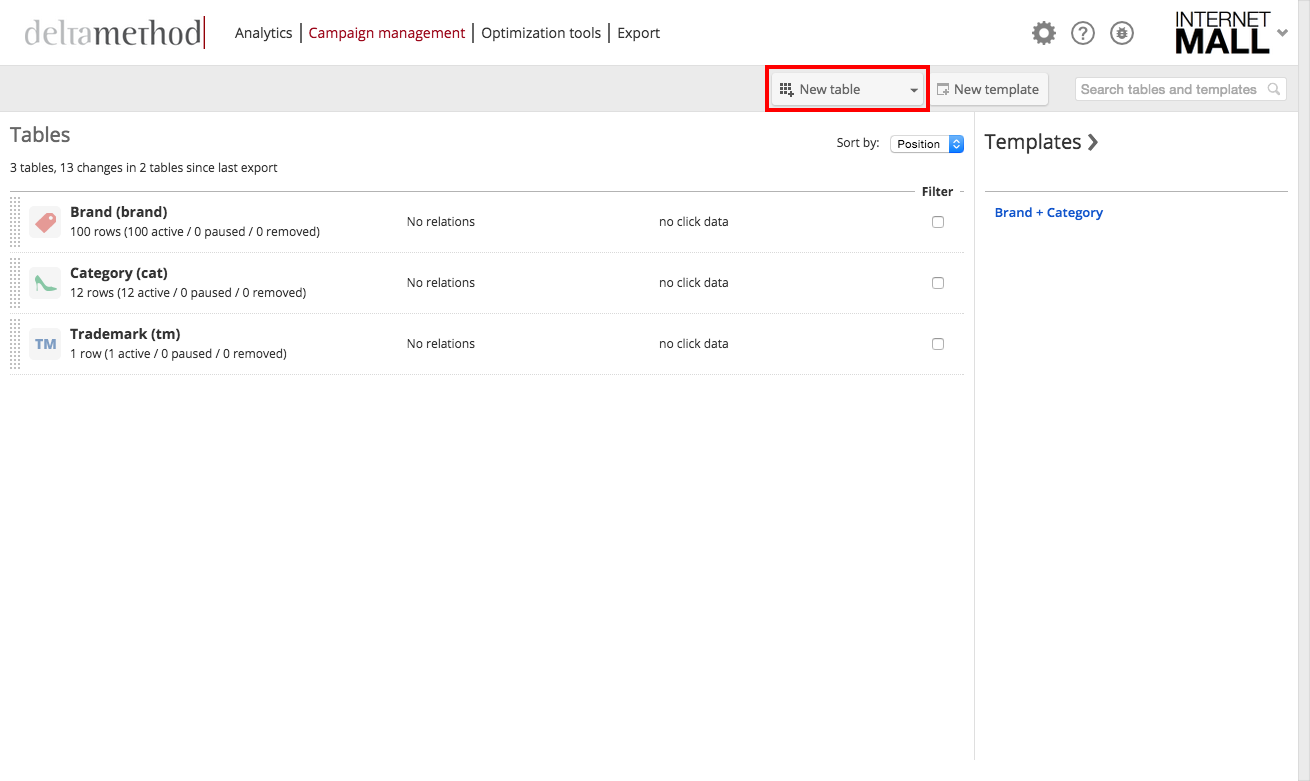
In order to create a new table, click the “Campaign management“ tab in Crealytics’ Search Platform and click “New table”.
Step 2: Choose table type
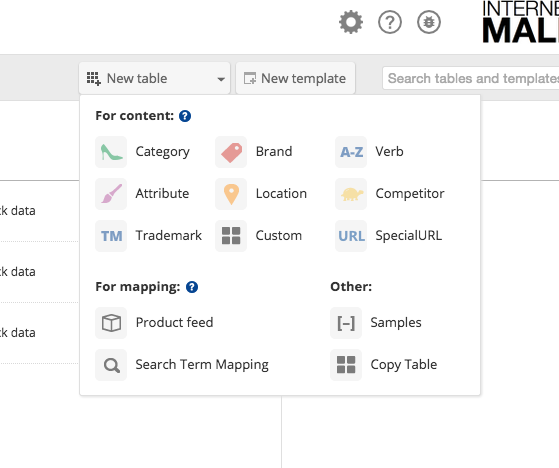
Crealytics’ Search Platform offers you the possibility of using different table types. Select the type you wish to use from the drop-down to get the correct icon next to your tables and templates. Please note, the table types influence which negatives you will be offered in a template.
Step 3: Choose a name and select column sets
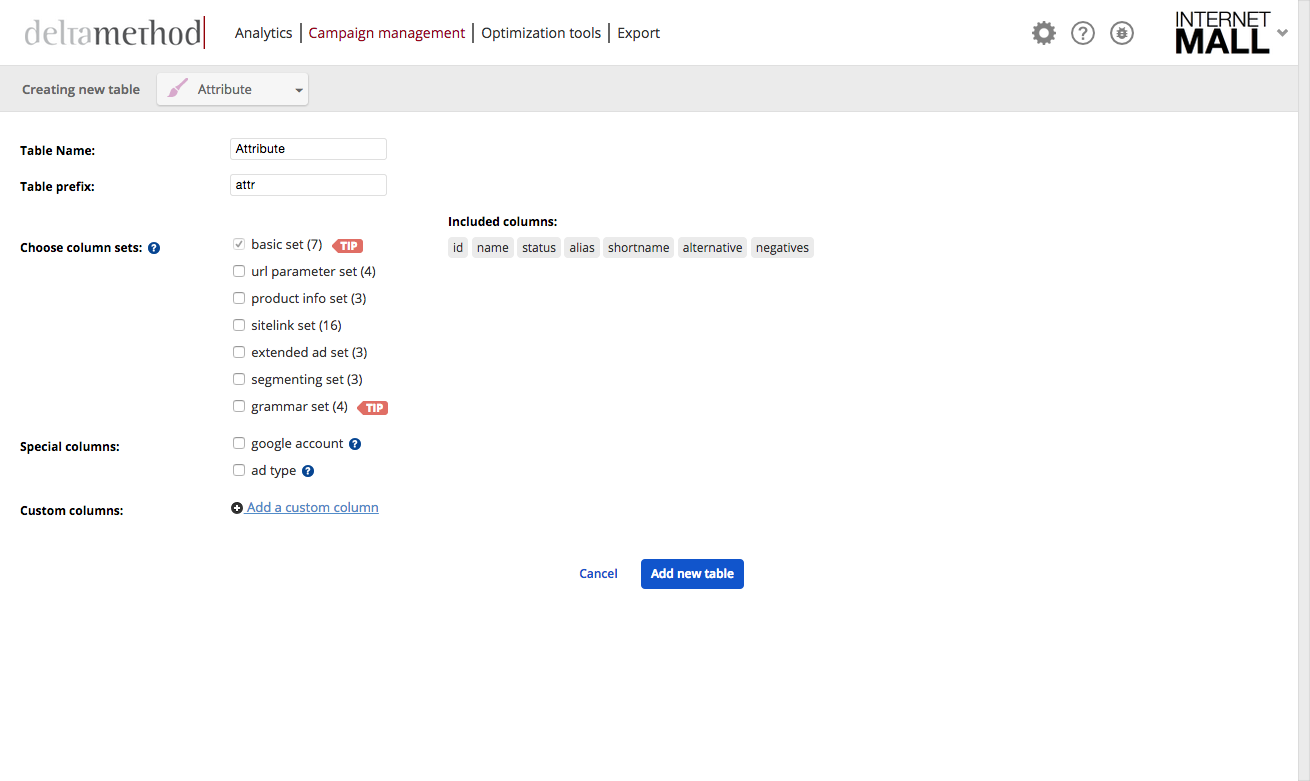
The table name is what will be displayed in the table list. Ideally, you should choose a name indicating what is inside the table. The prefix is a shorter version of the name that will be part of the campaign and ad group names. It will be used as a tag of table columns when selecting them in templates. Therefore, it is equally important to choose a meaningful prefix. Column sets are groups of columns that have been proven to be useful for distinct purposes. Select column sets now or add them later from the table settings as soon as you need them.
Note: When entering a value into the name column of a new table row, this name value gets locked to the id of that row. Even after deleting the row and creating a new row with the same name, it will get the same id again. This is to ensure that ad group and campaign names, including id and name, don’t have inconsistent values after changing table entries.